Key Takeaway
In the previous post or “Prestashop 8 installation in Windows 11 | localhost | XAMPP [Part 1]” of this EPIC 2 part saga, we spoke about the preperation. You are now about to read the conclusion of this journey.
What do we need:

1. Prestashop 8
2. XAMPP
3. Windows 11
Installation & Configuration
Prestashop 8 installation from zip file
In a previous step you already downloaded the Prestashop zip file, un-zipped it and the file would contain 3 items:
- index.php
- install_PrestaShop.html
- prestashop.zip
Normally you would do this:
- Unzip the downloaded zip file from Prestashop:
- Create a new folder of your project (let’s call it: example) in: C:\xampp\htdocs
- In the newly created directory C:\xampp\htdocs\example you would paste the un-zipped file to: C:\xampp\htdocs\example
- If not started, start the “Apache” server and the “MySQL” database in XAMPP.
- In your browser navigate to: http://localhost/example => note that “example” is the newly created directory from step 2.
- If you have followed my previous article “Prestashop 8 installation in Windows 11 | localhost | XAMPP [Part 1]” than you should have no problems with all steps of the Prestashop installation.
Warning
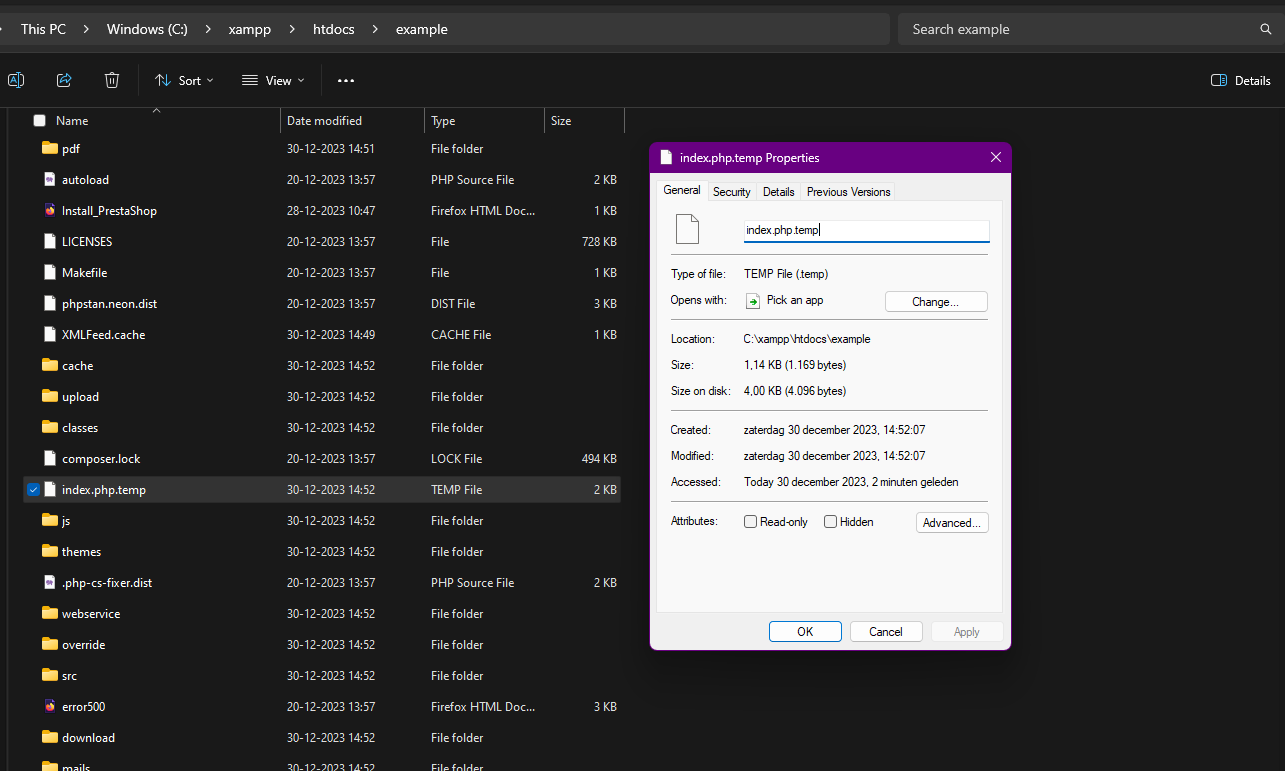
In cast you receive below error/warning:
Warning: rename(C:\xampp\htdocs\example/index.php.temp,C:\xampp\htdocs\example/index.php): Access is denied (code: 5) in C:\xampp\htdocs\example\index.php on line 1338 {“error”:false,“numFiles”:40840,“lastId”:41000}
Solution
 Image: PHP (php.ini)
Just go to the folder and as seen in the image, remove the “.temp” and save it. Refresh the installation page in the browser, if that does not work than “Stop” & “Start” the “Apache” server in XAMPP, refresh again if necesarry.
- In “Store Information” fill in all your details => Image: Store Information phase Important: Do not turn on SSL! This is an article about localhost, you do not need it on localhost. If you want you can, but do your own research! It is out of scope!
- In “Content of your store”, leave as is and click “NEXT”.
- In “System configuration” leave all as is or change as per below:
- Change the server address to “localhost” or just leave it at “127.0.0.1”, does not really matter as they are the same.
- Database name => suggestion to give it the same name as the directory you created, in my case “example”. However if you want to name it “omgwhichdatabasereferstomyproject” is also fine. No big deal.
- No need to fill in a password
- Image: System Information phase
- Open XAMPP and click on “Admin”, the MySQL database will open. Click on “new” and type the database name which you have given in the previous step. Image: MySQL database creation
- Go back to the browser and test the database connection.
- Last phase “Store Installation”, this might take a few minutes. Ok, time for some coffee!
- Delete the “install” folder or just rename it to “installOK”, whatever your flavour. Image: Install Folder
- Select the “Back Office” and rename the “admin” folder to for example: “admin10xxxxxx154sapper41st”, correct I did not make a picture.
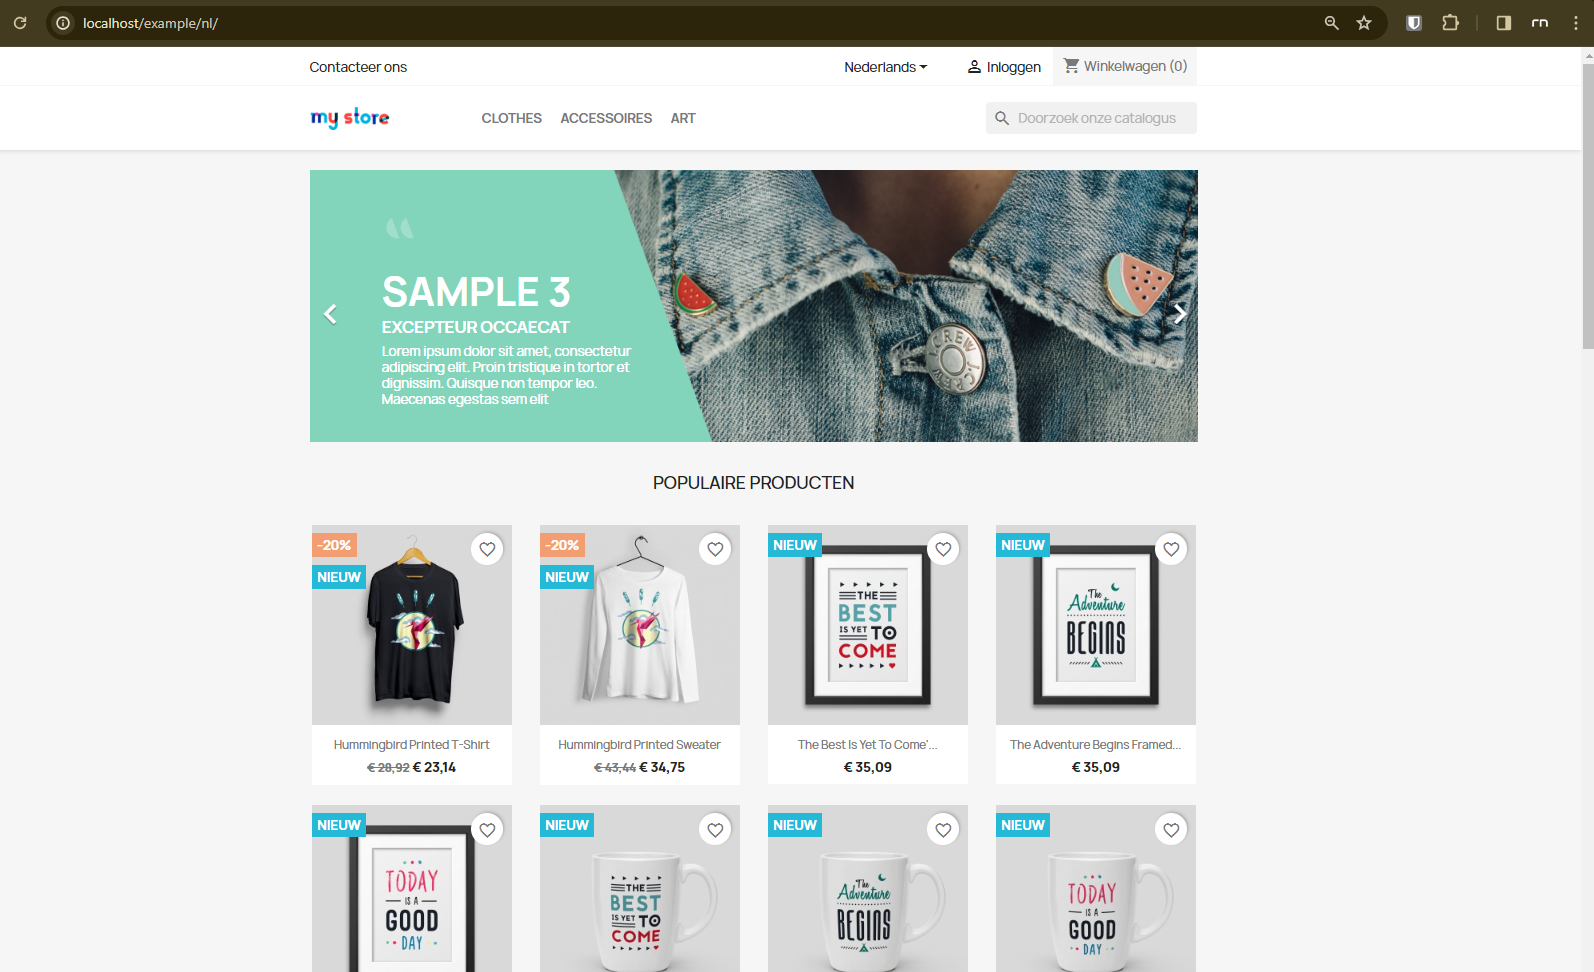
- In your browser navigate to http://localhost/example/admin10xxxxxx154sapper41st and you will be able to login with your credentials.
- Not going to hold your hand anymore, just follow the instructions once logged in, in how to bring your store online!
- Let’s go!

Credits and/or Image attribution
Prestashop logo - searchlogovector, CC BY-SA 4.0 via Wikimedia Commons
Source Files
NOTE: When writing the article, the following versions (latest) were available:
